Before you start working with clay, there are a few basics that you need to understand. I will go over the Stages of Clay, and your Clay Tools.
Stages of Clay
1. Slip (liquid clay)
Used for decoration and joining pieces together.
Has the most water to clay ratio.
2. Wet or plastic
Can be easily shaped, cut, or carved
Dark gray color
Can be recycled
Feels cold and wet
3. Leather Hard
The clay is still a little bit bendy, but no big changes can be made to the shape
Gray in color
Best stage for carving and adding decoration
Can be recycled
Feels cool to the touch
4) Bone Dry or Green Ware
All water has evaporated, and the piece is ready to be fired
No changes can be made to the shape
Light dusty gray
Can be recycled
Feels room temperature
.
THE WORK GOES INTO THE KILN FOR THE FIRST TIME to about 1900 degrees Fahrenheit
•
5) Bisque Ware
Very hard
Light peach color
Cannot be recycled
Feels rough, hard and
room temperature
.
AFTER ANOTHER KILN FIRING to about 2200 degrees Fahrenheit
.
6) Glazed pieces
Glaze was applied after bisque firing
Glaze has been fired
The piece is ready to use!
Feels cool and smooth
Clay Tools- All tools must be returned to the school at the end of the semester.
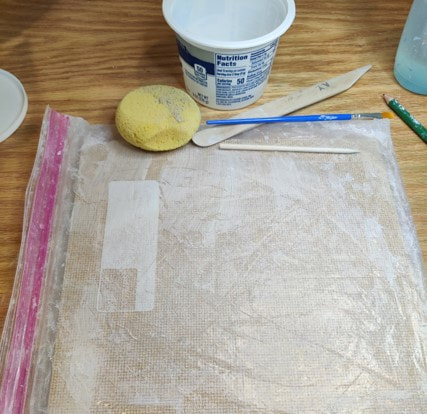
- Needle Tool This is used for fine carving, drawing, even cutting the clay. You can poke holes or draw lines. Commercial ones are very sharp. We are going to make one out of a pencil and a paper clip and some tape.
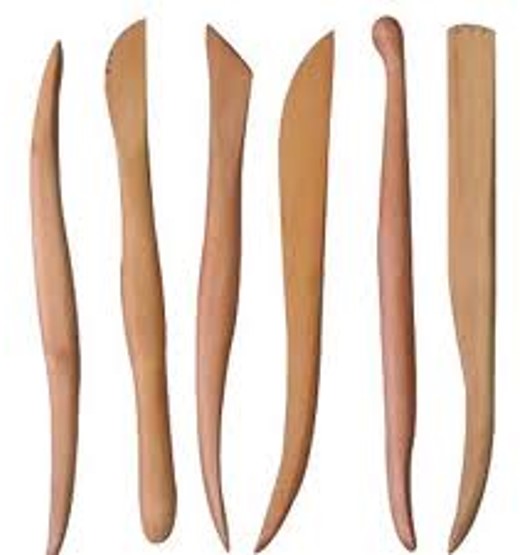
- Wooden Modeling Tool This is a versatile tool that is like an extension of your finger. Use it to carve, and to smooth. It can make textures and also smooth them away.
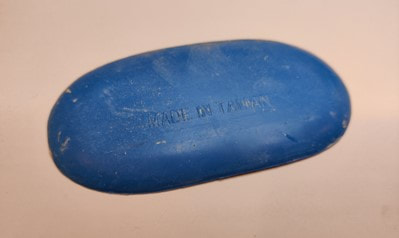
- Blue Rib Use your rib for smoothing out rough patches on clay. Look for bubbles underneath the surface and gently scrape the clay with the side of the rib until smooth and flat. Use the rib to pull and push clay along the surface.
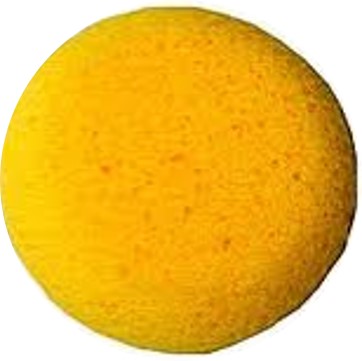
- Sponge Use the sponge to smooth the clay, to add moisture or to wick it away. Just be careful not to use the sponge on your clay too much, as you can wash away all the fine particles of clay, leaving behind the sandy grog. If this happens, use your finger or your blue rib and start smoothing. It will smooth out eventually.
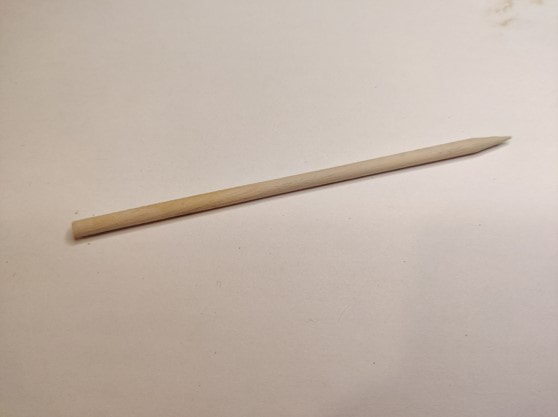
- Wood Stylus Like a pencil, I use this for drawing and fine carving. Flip it over and it's a perfectly flat circle that I can use to make patterns or texture.
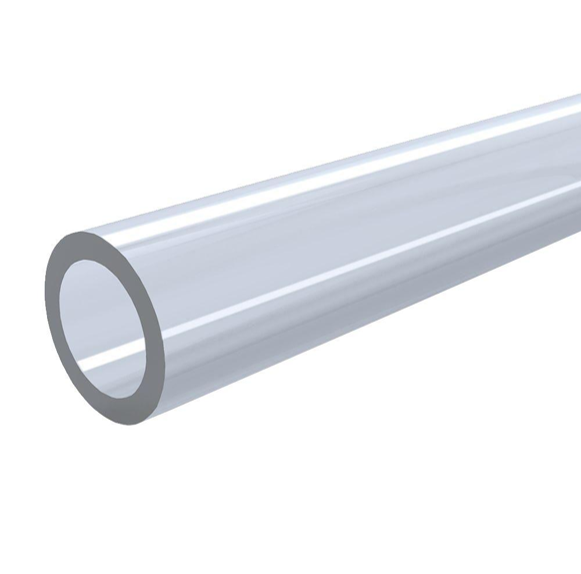
- Rolling Pin Used to roll out your clay like dough. You can use the spine of magazines as guides so that you roll out an even slab of clay. Flipped on it's side, you also have another circle to use for texture.
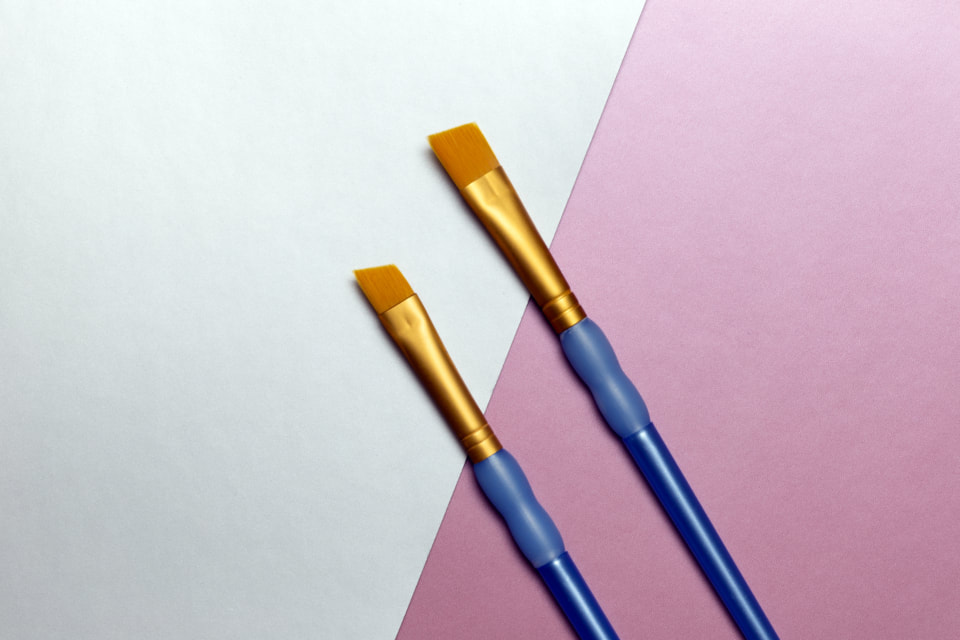
- Paint brush Use this to add water, smooth clay in small space, or apply slip.
- Board in a bag This is your work surface. Leave the board in the bag! Do not open the bag! The bag protects the board from warping or growing mildew. Also, clay doesn't stick to plastic very well.
Supplies that you will find at home:
- A pencil (no eraser needed)
- Tape (not much needed)
- Ruler
- A strong shoebox with a lid, can be cardboard or plastic. Plastic produce boxes are excellent
- A plastic produce bag or two (no holes)
- A small container with tight lid for water or slip (sour cream container, or margarine, small size)
- Paper towels for clean up
- You might like a small spray bottle with water in it, but this is optional.
copyright 2021/ demellovizart.weebly.com/all rights reserved
